How to add an initial image in Disco Diffusion
Create AI Art starting with an initial image.

Adding an initial image can help us achieve a more impressive result, or something more closer with our concept. But the use of initial images does not imply guaranteed success. You have to practice to domain the technique.
To add initial images, we follow these simple steps:
1 - In your Google Drive, go to the init_images folder inside Disco_Diffusion in Google Drive and upload the image or images you want to use later.

You can also upload them directly from here, but I recommend the first option to have everything much more organized:

It is important to name the pics with a simple and clear title to make the images easily locatable.
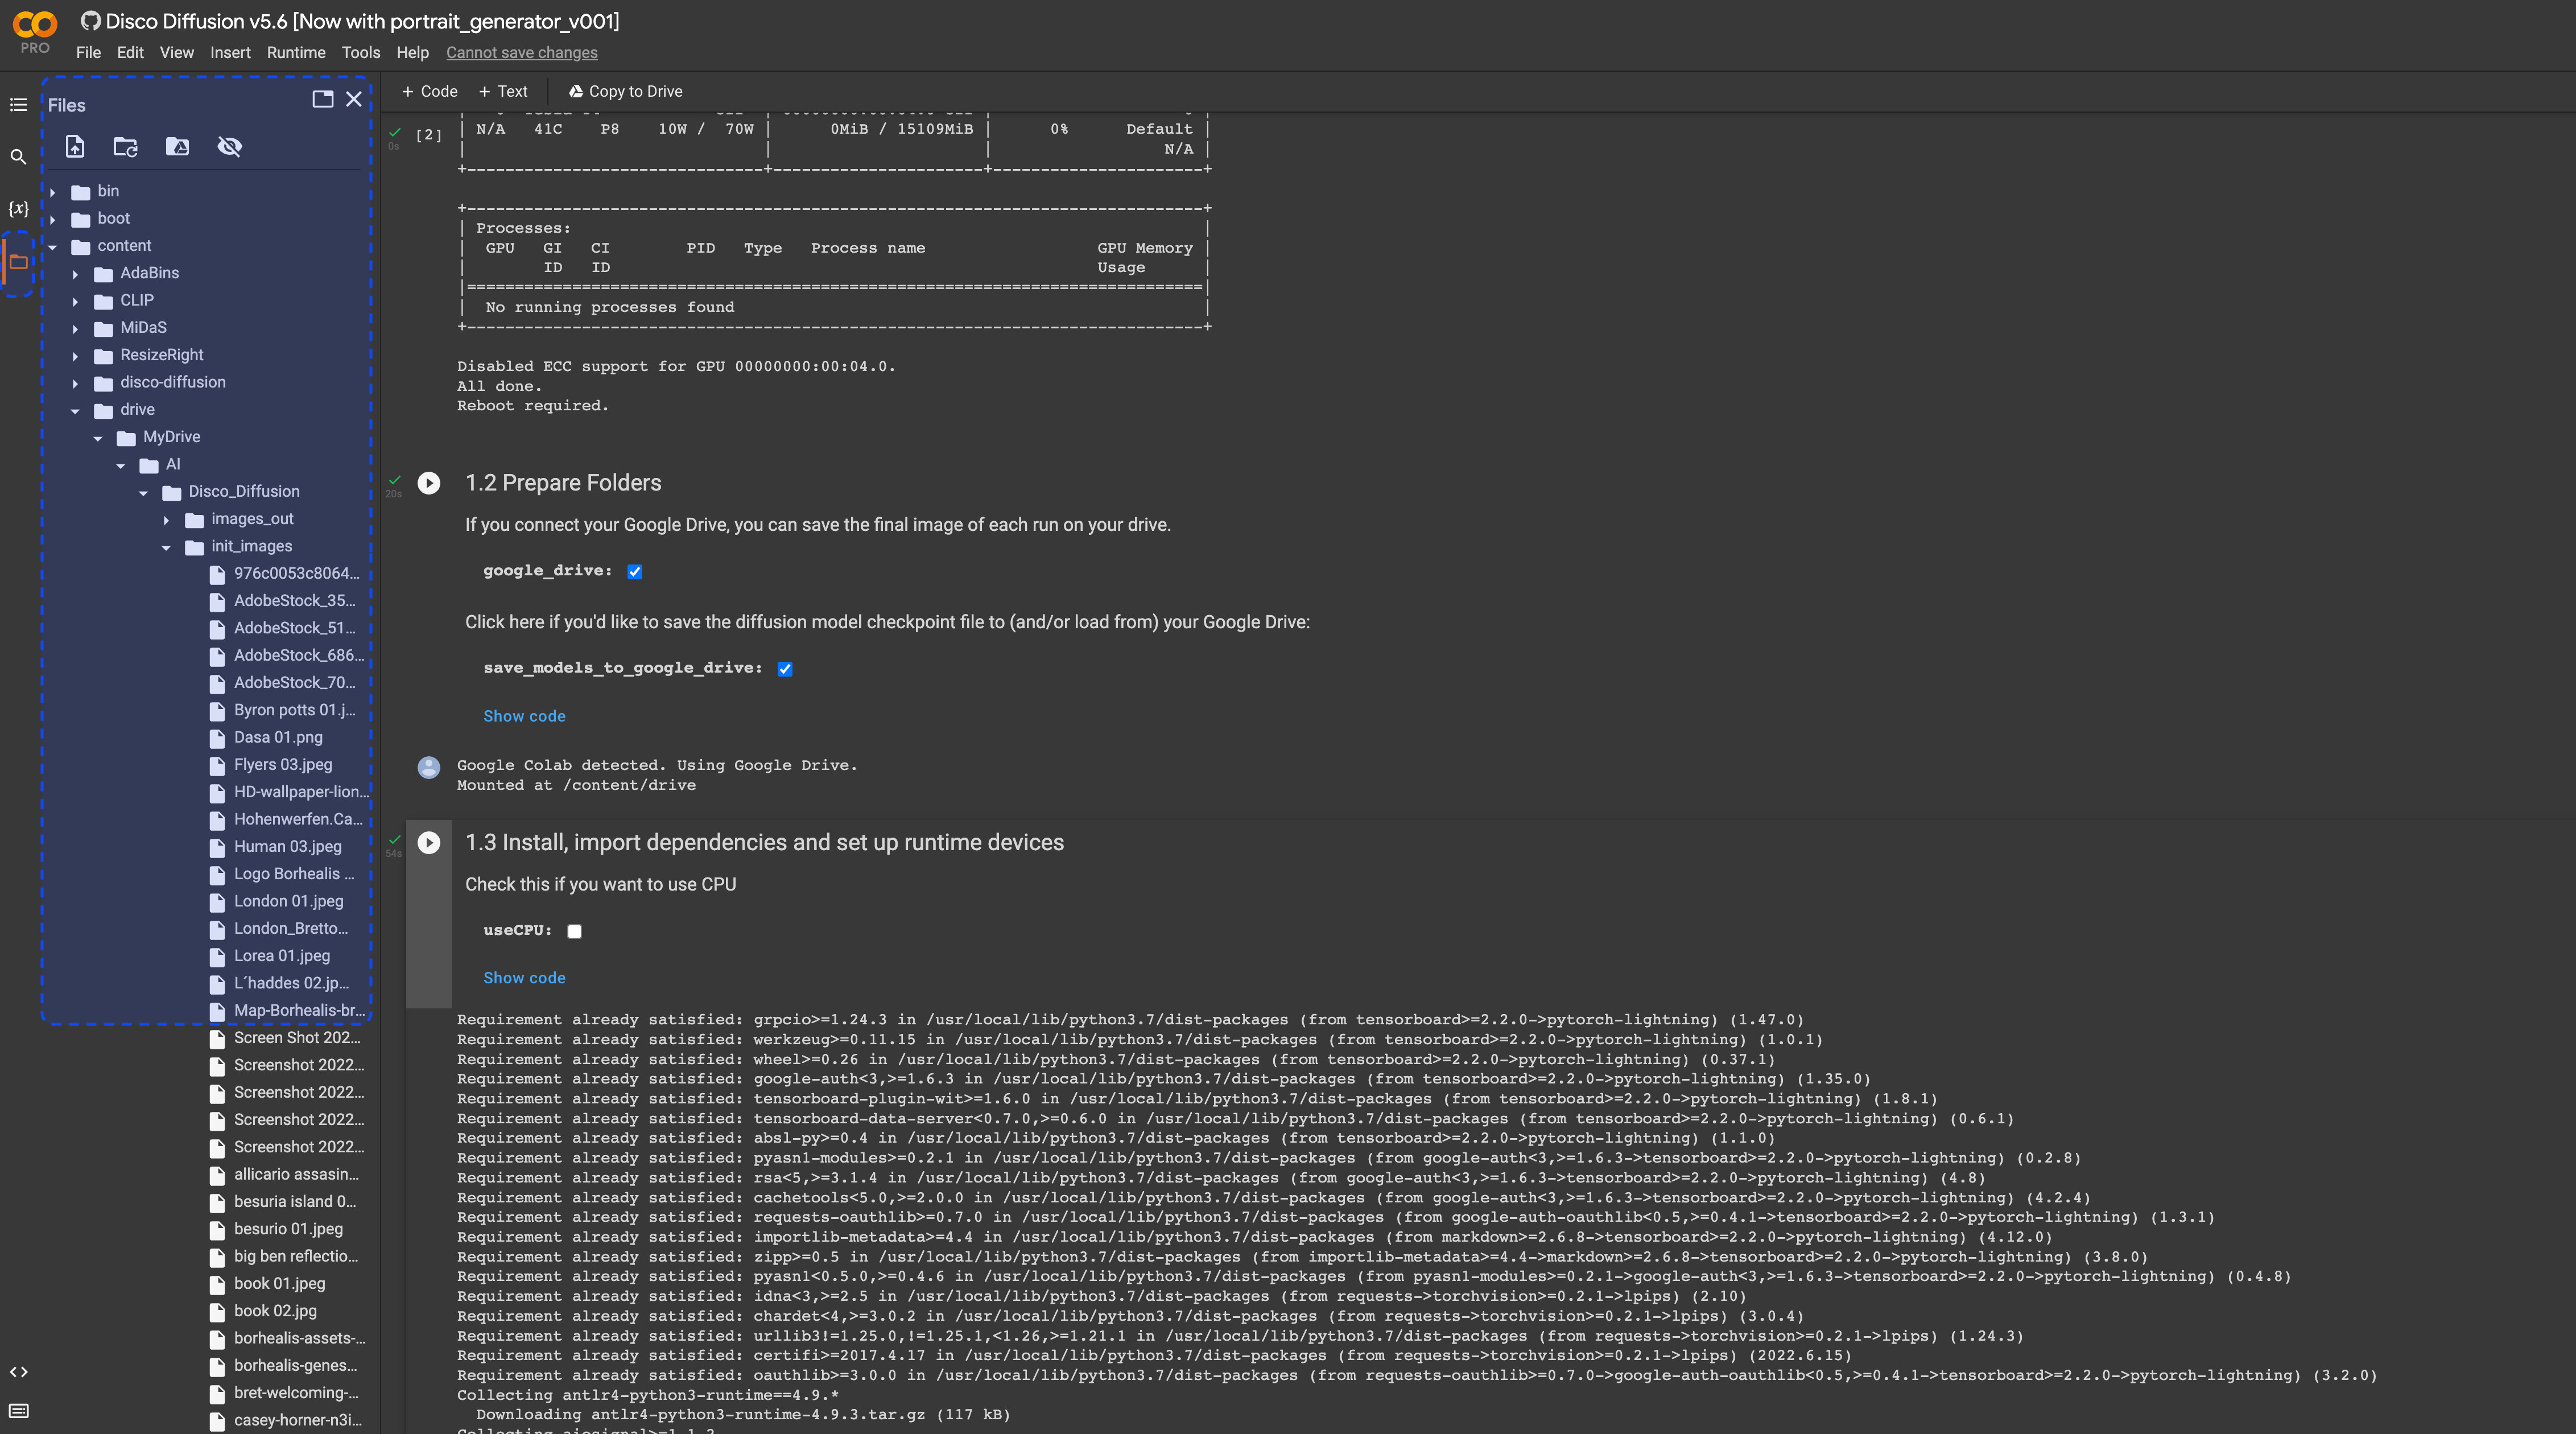
2 - Once you have connected the tool with your Drive (1.2 Prepare Folders), on the left hand side (where the folders are) locate the image in the init_images folder: (content>drive>MyDrive>AI>Disco_Diffusion>init_images).
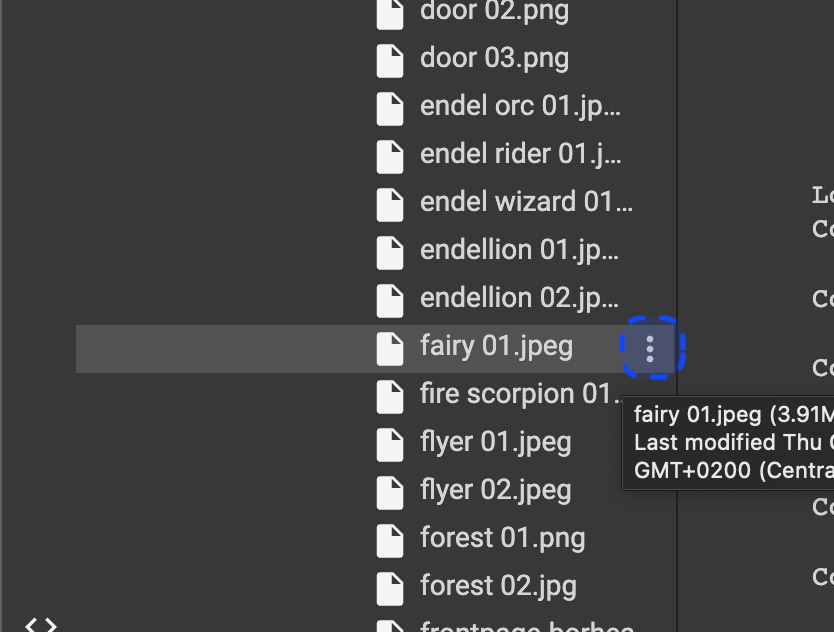
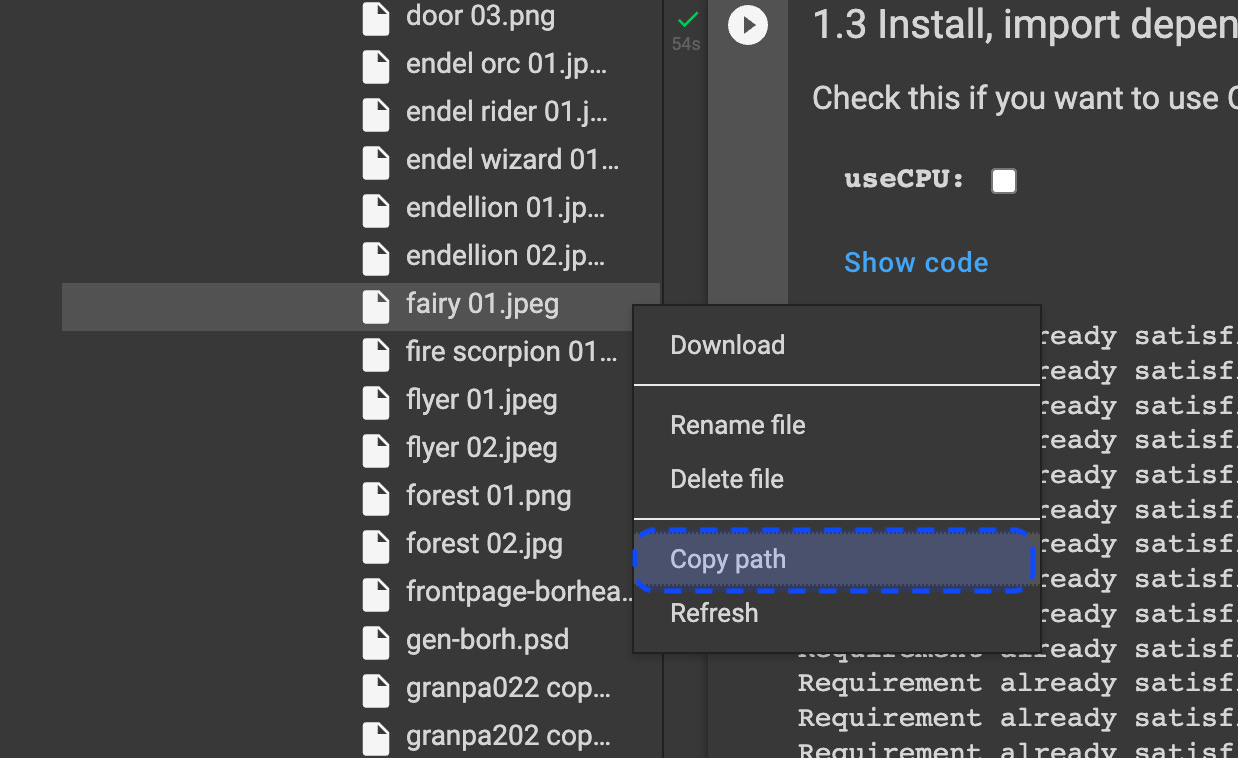
Once you have located the image you want to use as the initial image, click on the three vertical dots icon and then, click on 'Copy path'.
3 - When you get to the 'Settings' configuration, in the first point of the third block 'Init Image Settings' called init_image:, copy between the quotes the path of the image obtained in the previous point. Right there:
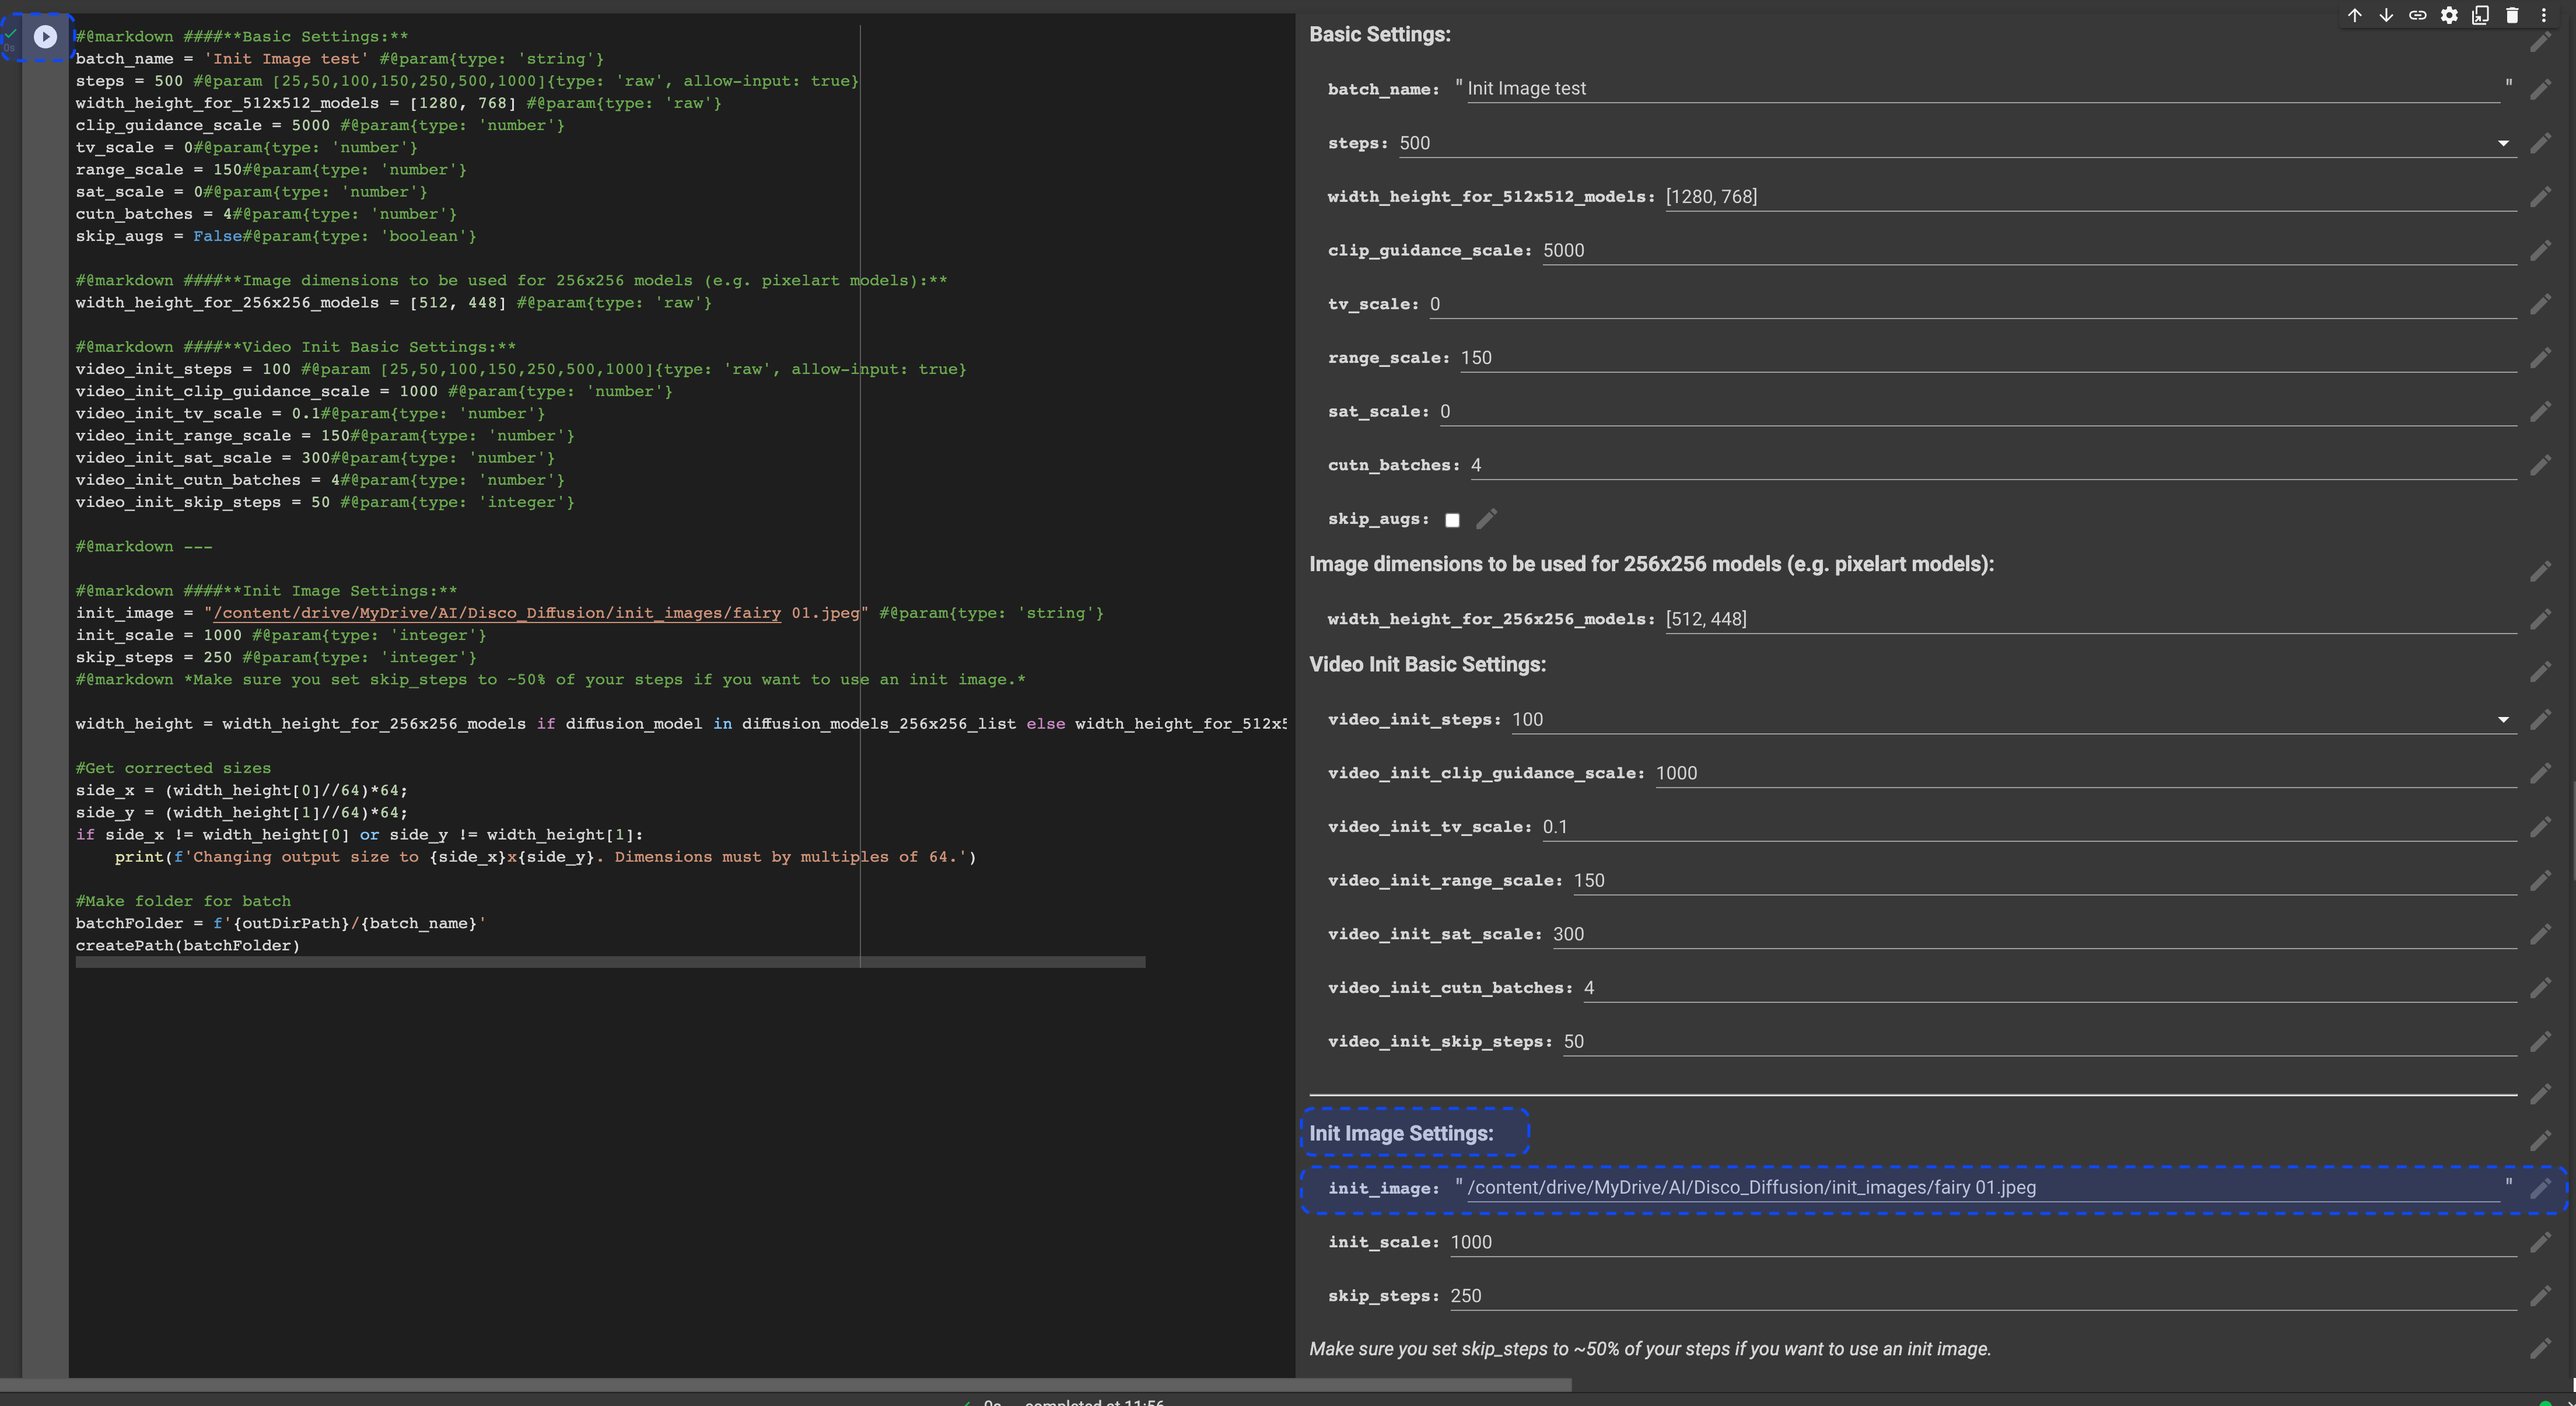
Activate the 'Settings' section, so that the algorithm takes into account the initial image.
4 - Play with the prompt and activate.
5 - Activate Diffuse… and that's it!
Now, let me show you a couple of examples.
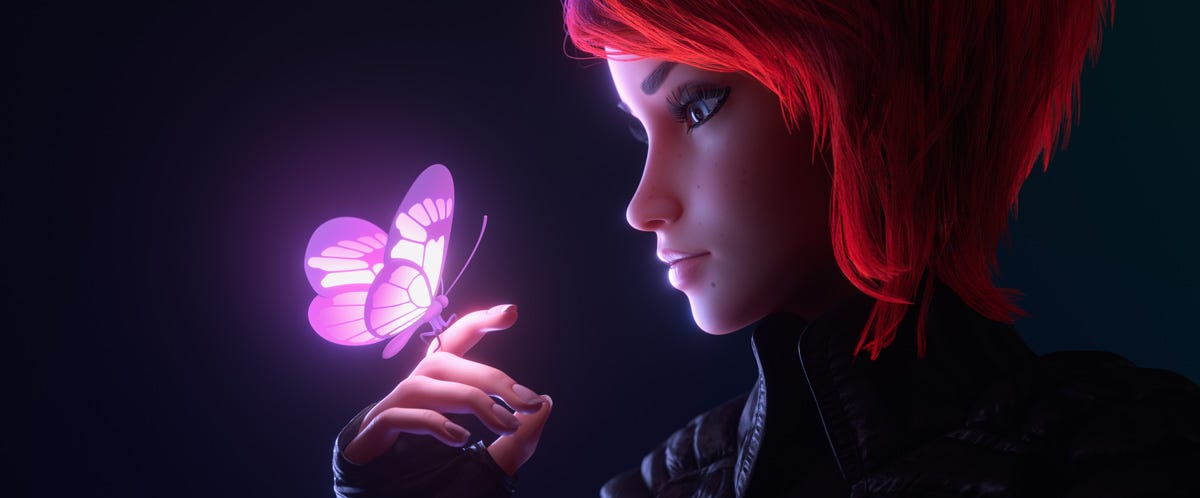
Let’s start with the following initial image:
And we give it a robotic and futuristic touch:
["Robotic and futuristic redhair girl and her butterfly, 3D"]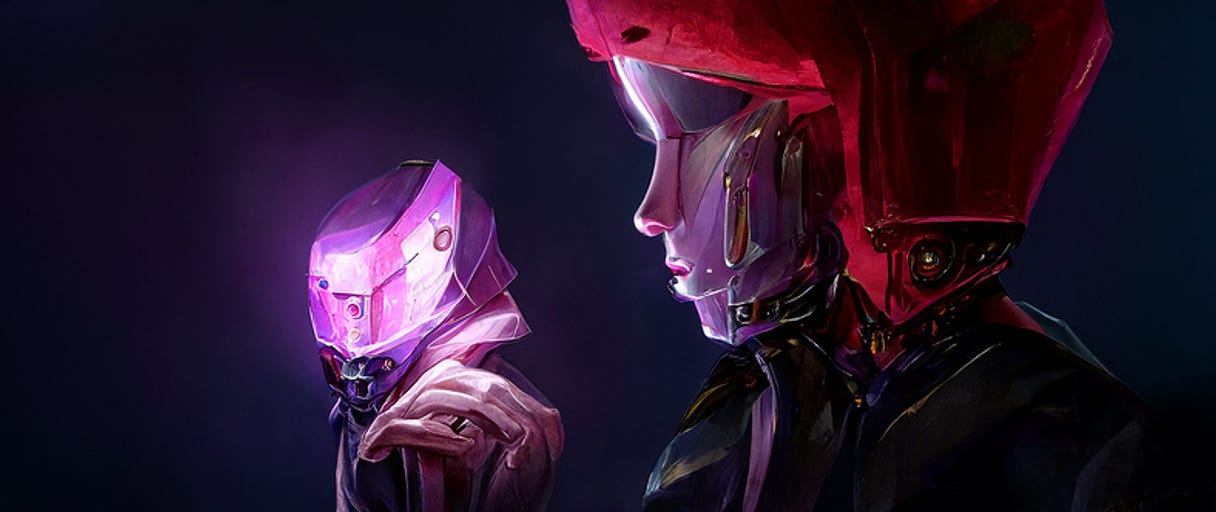
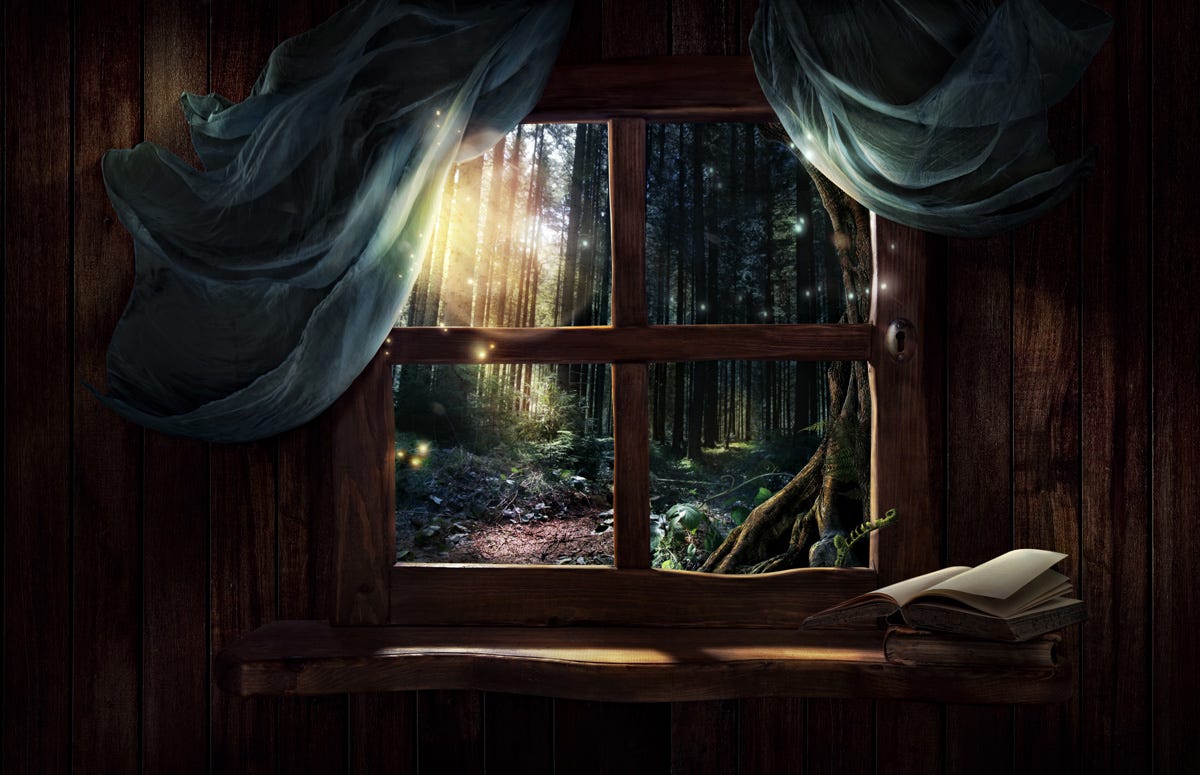
Or this window with views to the forest:
To which we give some views of Paris:
["A beautiful painting of a window, the city of Paris is outside with the eiffel tower, photorealistic, cinema 4k, final render, detailed, amazing, masterpiece, artstation."]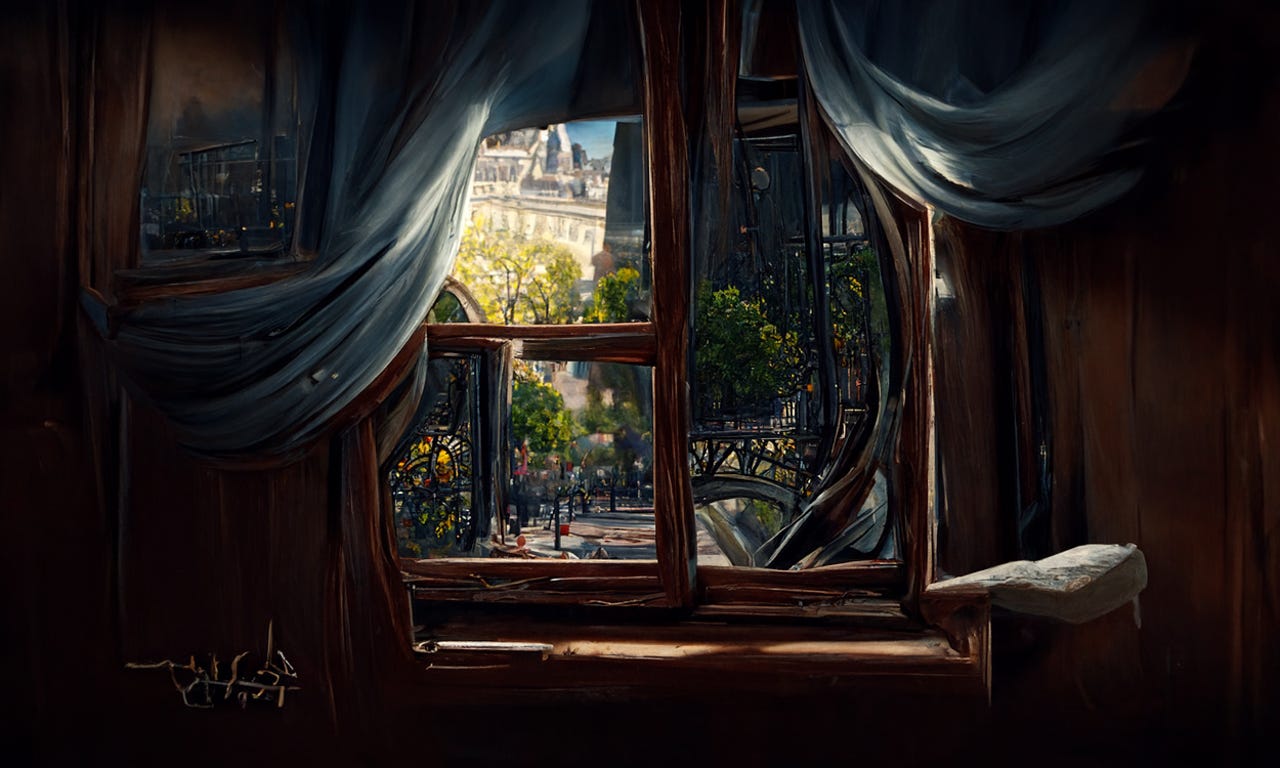
Stay tuned, we'll be posting tips and tricks soon to get the most out of init images!