Create an image with Artificial Intelligence in 5 minutes (AI art)
We show you how to make a simple setup with Disco Diffusion.

Disco Diffusion is one of the most powerful tools to create digital art with Artificial Intelligence (generative art). And it's free, so it's a good platform to start. Follow the steps below and you will see that it is incredibly simple.
Thanks to Disco Diffusion we will be able to create spectacular images and videos, and to do so, you can team up with the artists you love the most to help you complete our masterpiece.
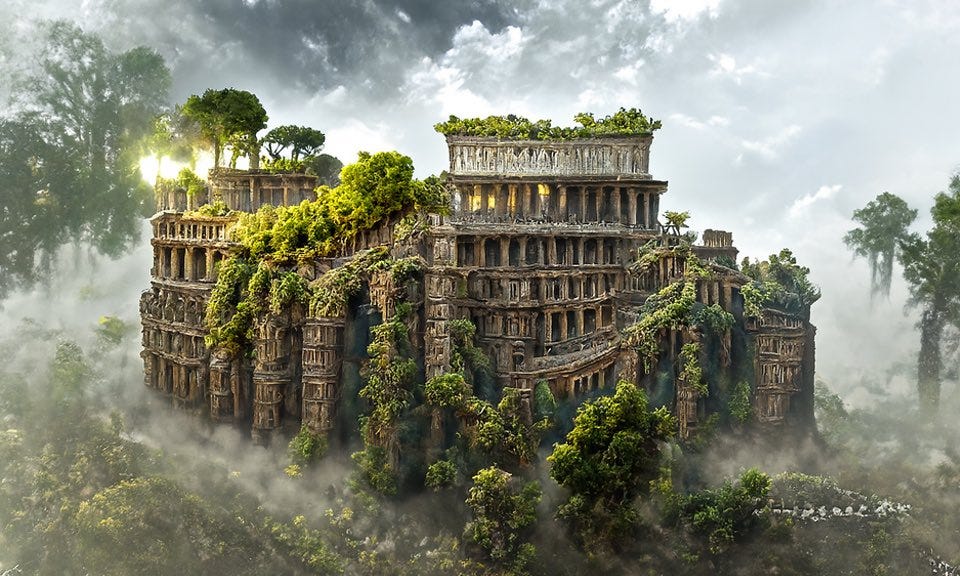
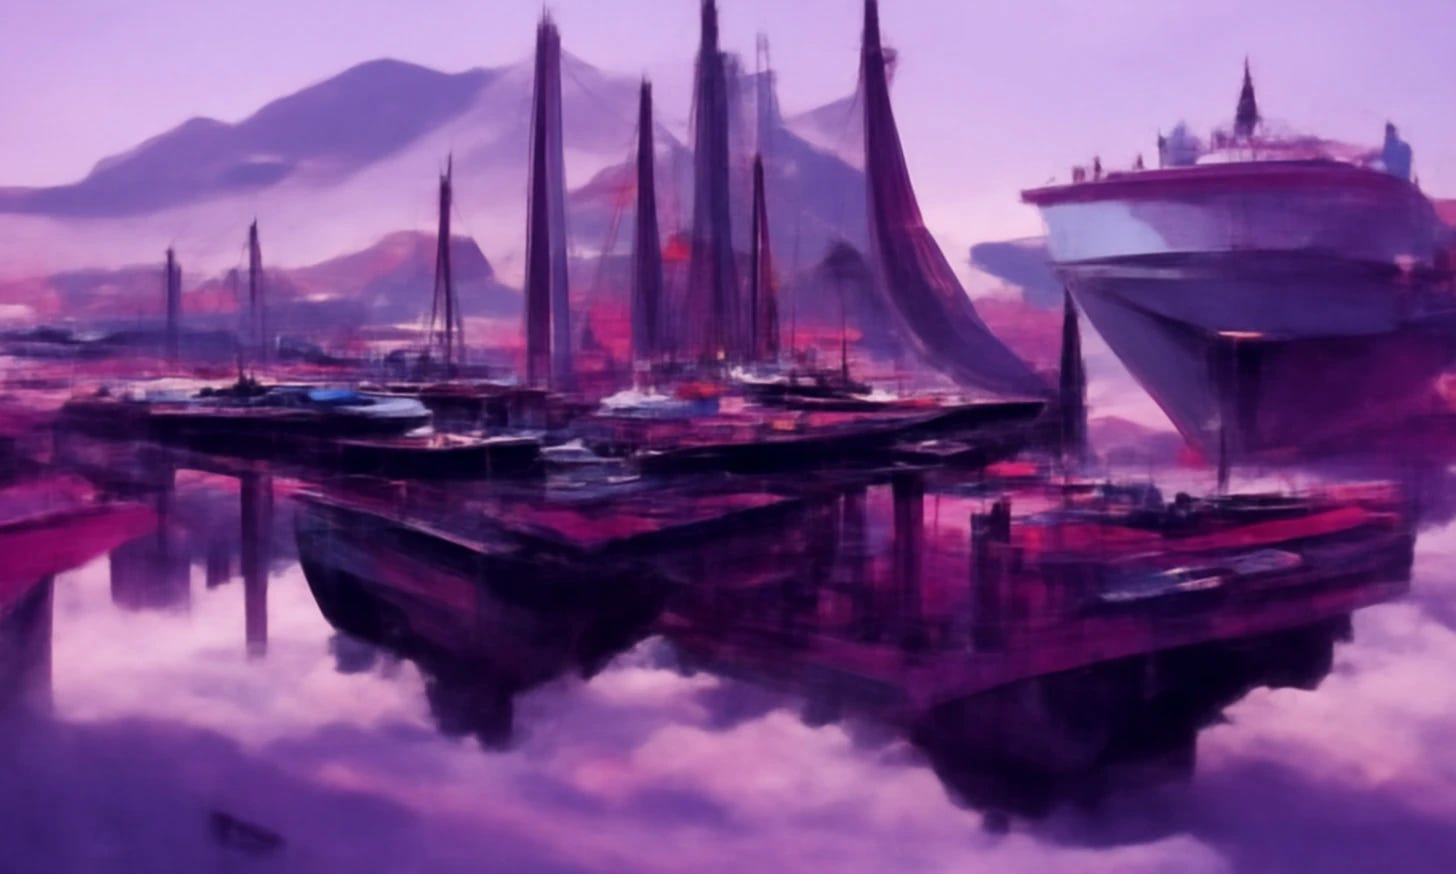
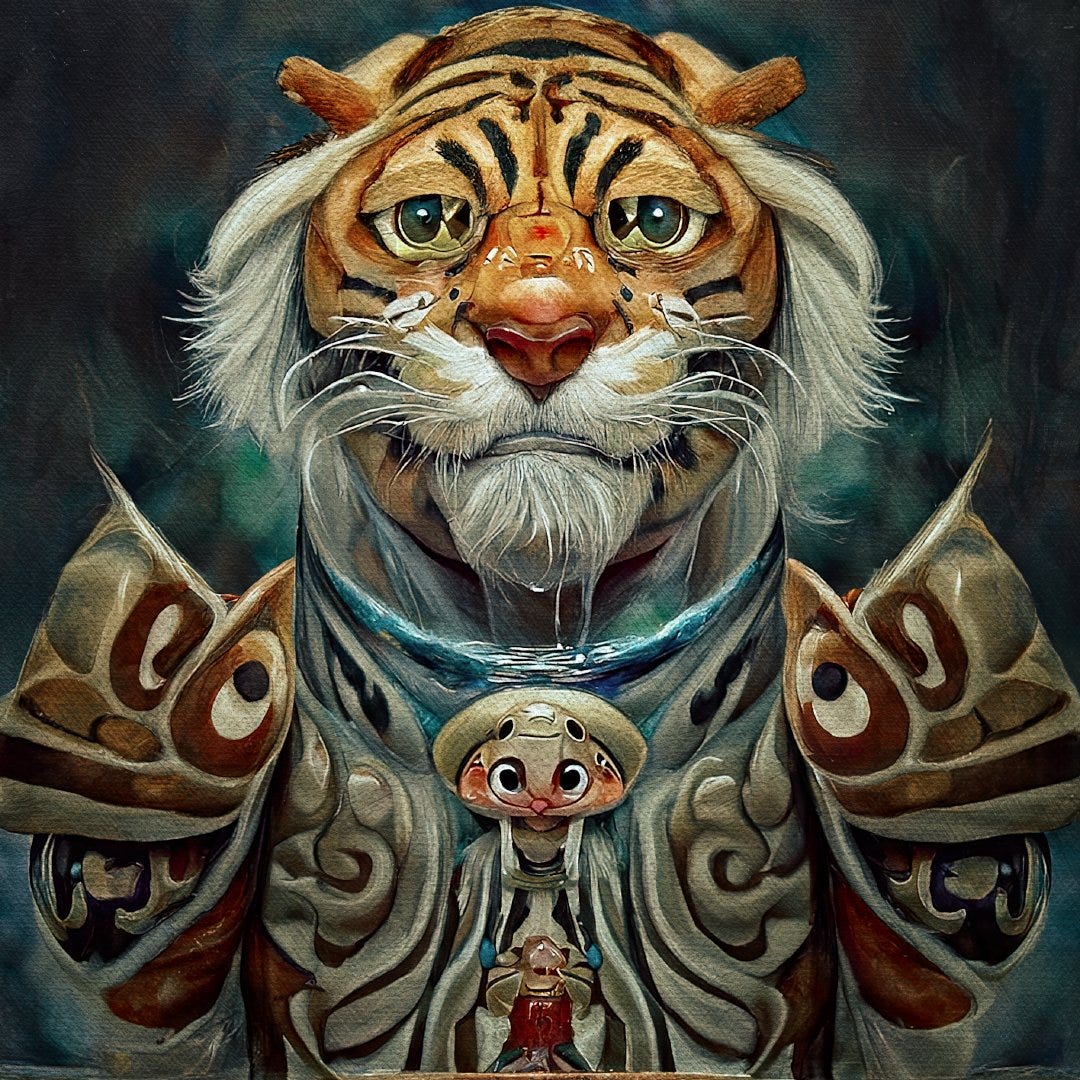
You will do things like this:
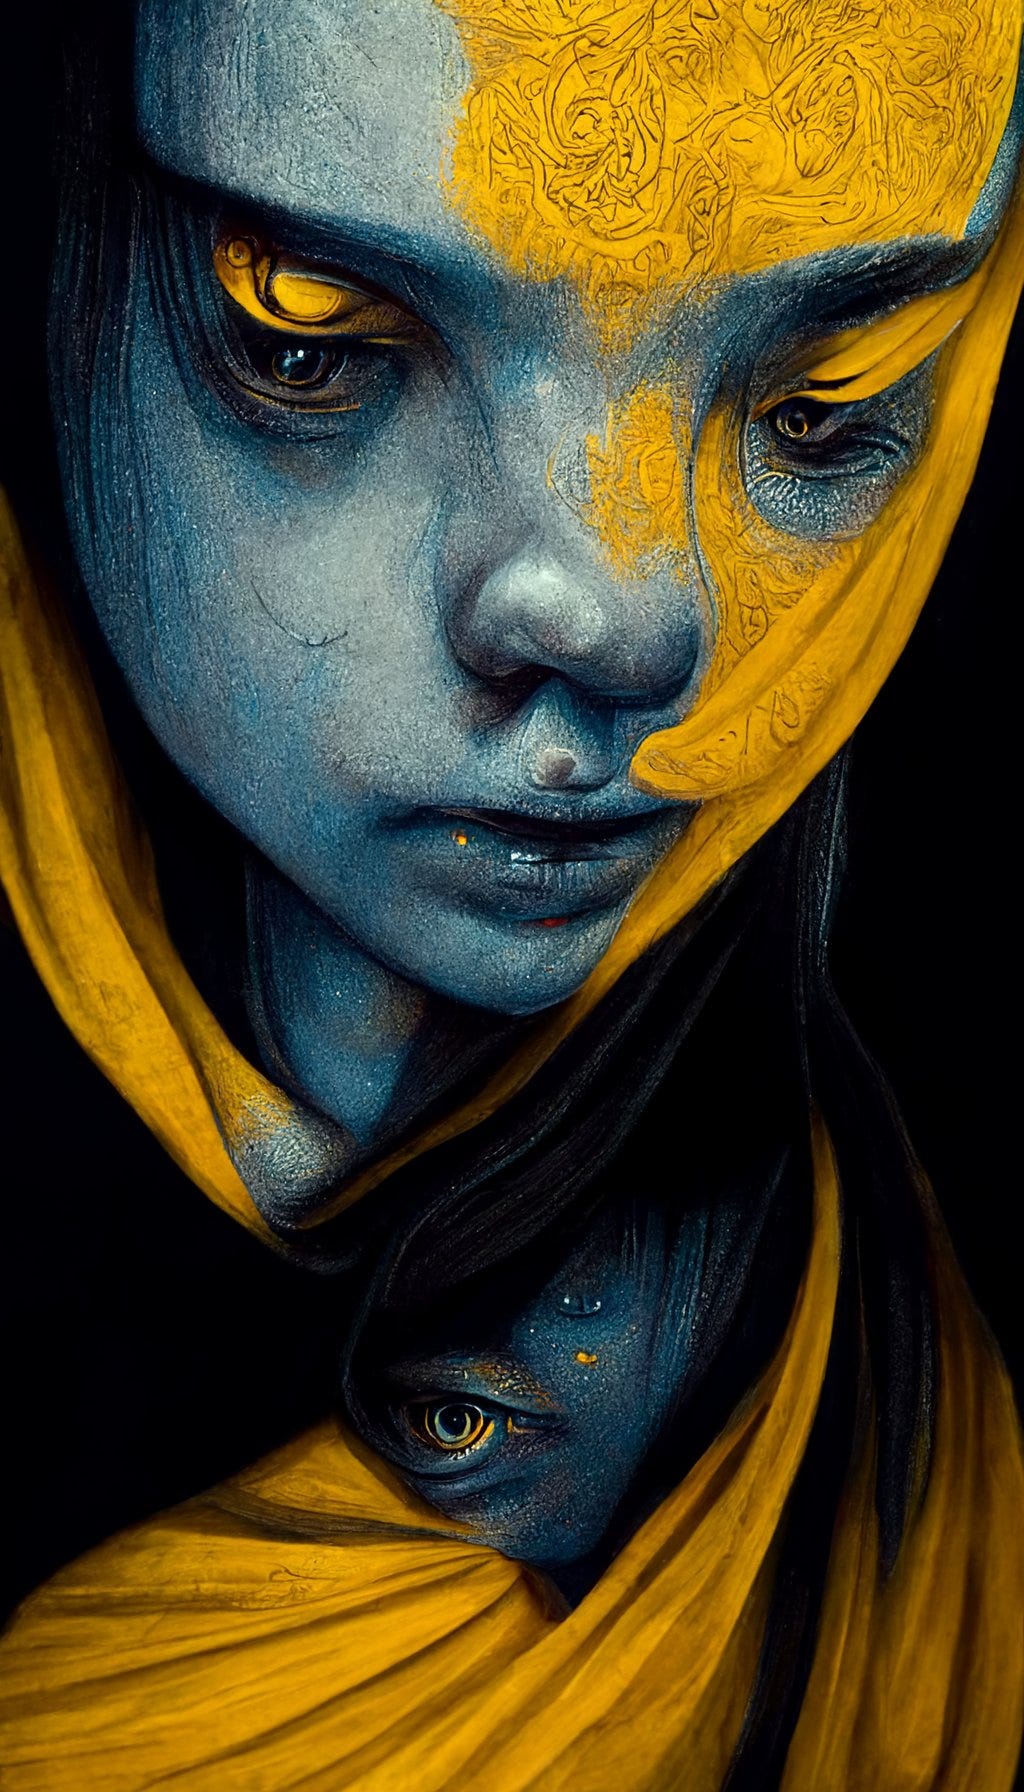
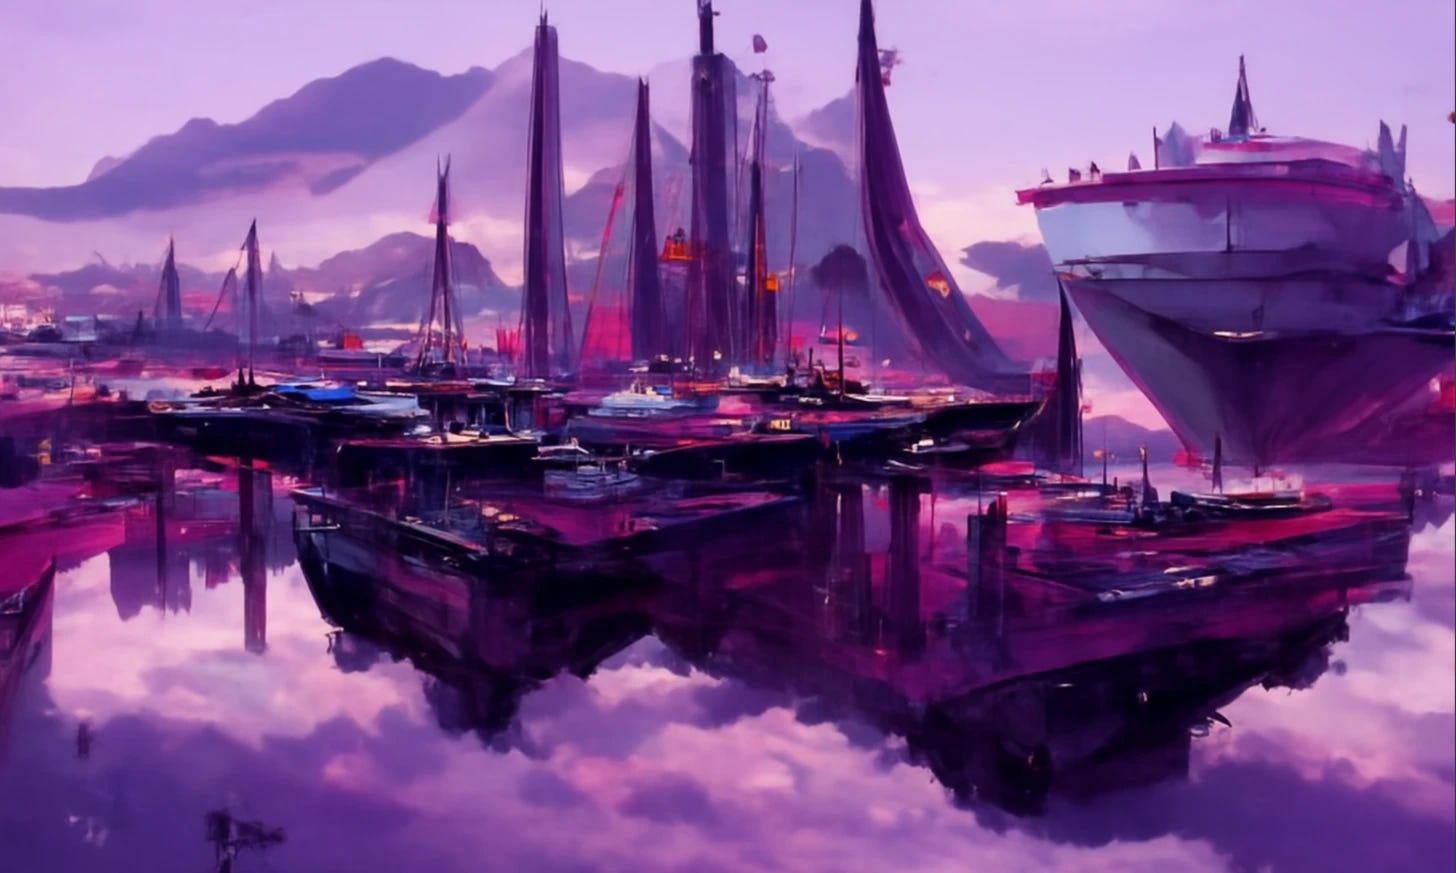
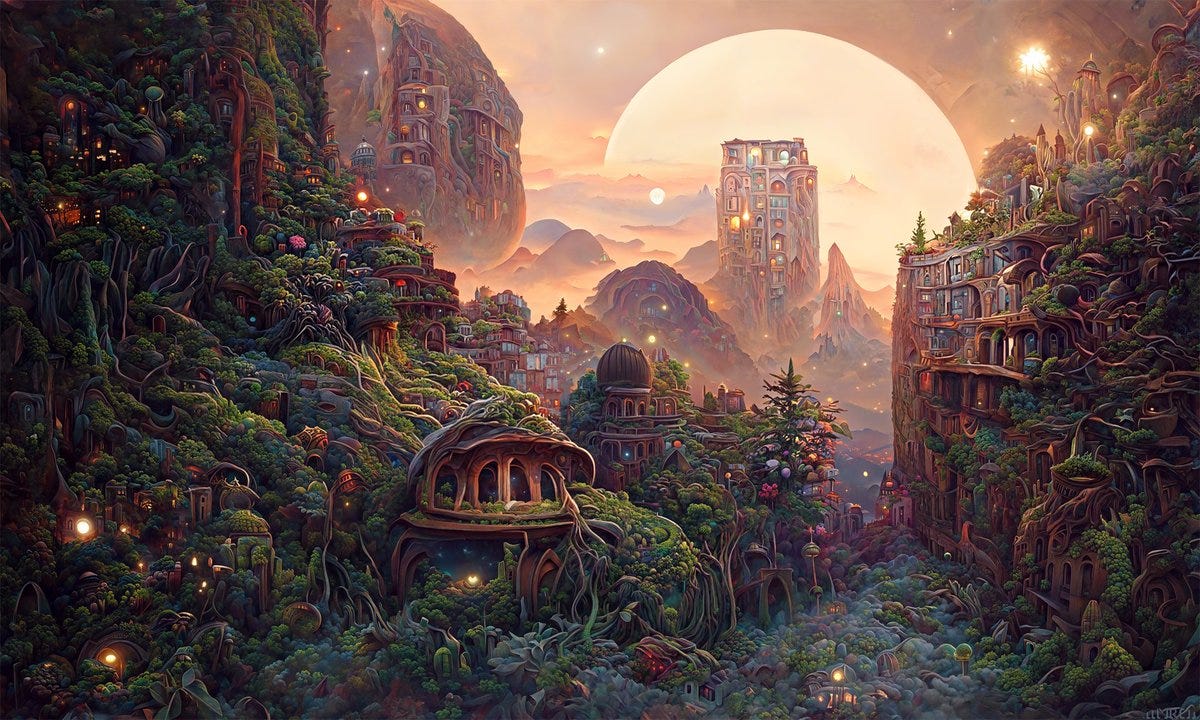
O esta:
Disco Diffusion is a complex tool and we will explain it step by step in other posts, but now we are going to focus on the most important and essential stuff you have to do to start this adventure with your own creation.
Important notice: This is addictive.
1 - Changelog: First, you need to have google drive. If you don't have it, signup on gmail. Without this, you cannot use Disco Diffusion.
After that, click on the following link to access the tool (use Google Chrome):
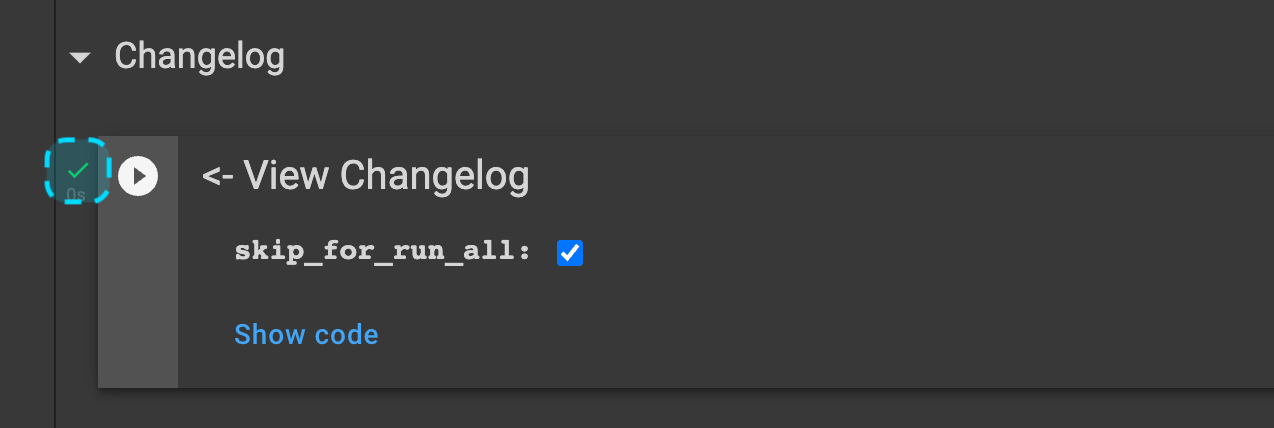
And here we are. Let's skip the whole introduction and stuff for now and go directly to the Changelog section. Simply click on the play button next to it (it is essential to activate all the sections needed).

You will get an alert message warning that this notebook has not been authored by Google, but click on 'Run Anyway'.

Wait for a green 'check' icon to appear indicating that it is activated and go to the first 'Set Up' section.
2 - Set Up. Do not touch anything here, just activate each of the sub-sections by pressing play (as we have done with Changelog).

In each one you can take a look at the code by clicking on 'Show code' if you want, but it is not necessary.
In the second sub-section (‘Prepare Folders‘) it will ask you to connect to your Google Drive. Follow the instructions to connect.

I recommend that you activate one by one and do not go to the next until the previous one is active with the 'check' icon in green.
Once you have everything active, move on to section 2.

3 - Diffusion and CLIP model settings: Do not touch anything, simply activate as we have been doing until now.

Don't forget to also activate the 'Custom model settings' (last sub-section).

4 - ‘Settings‘: We are going to focus on the right hand side block.
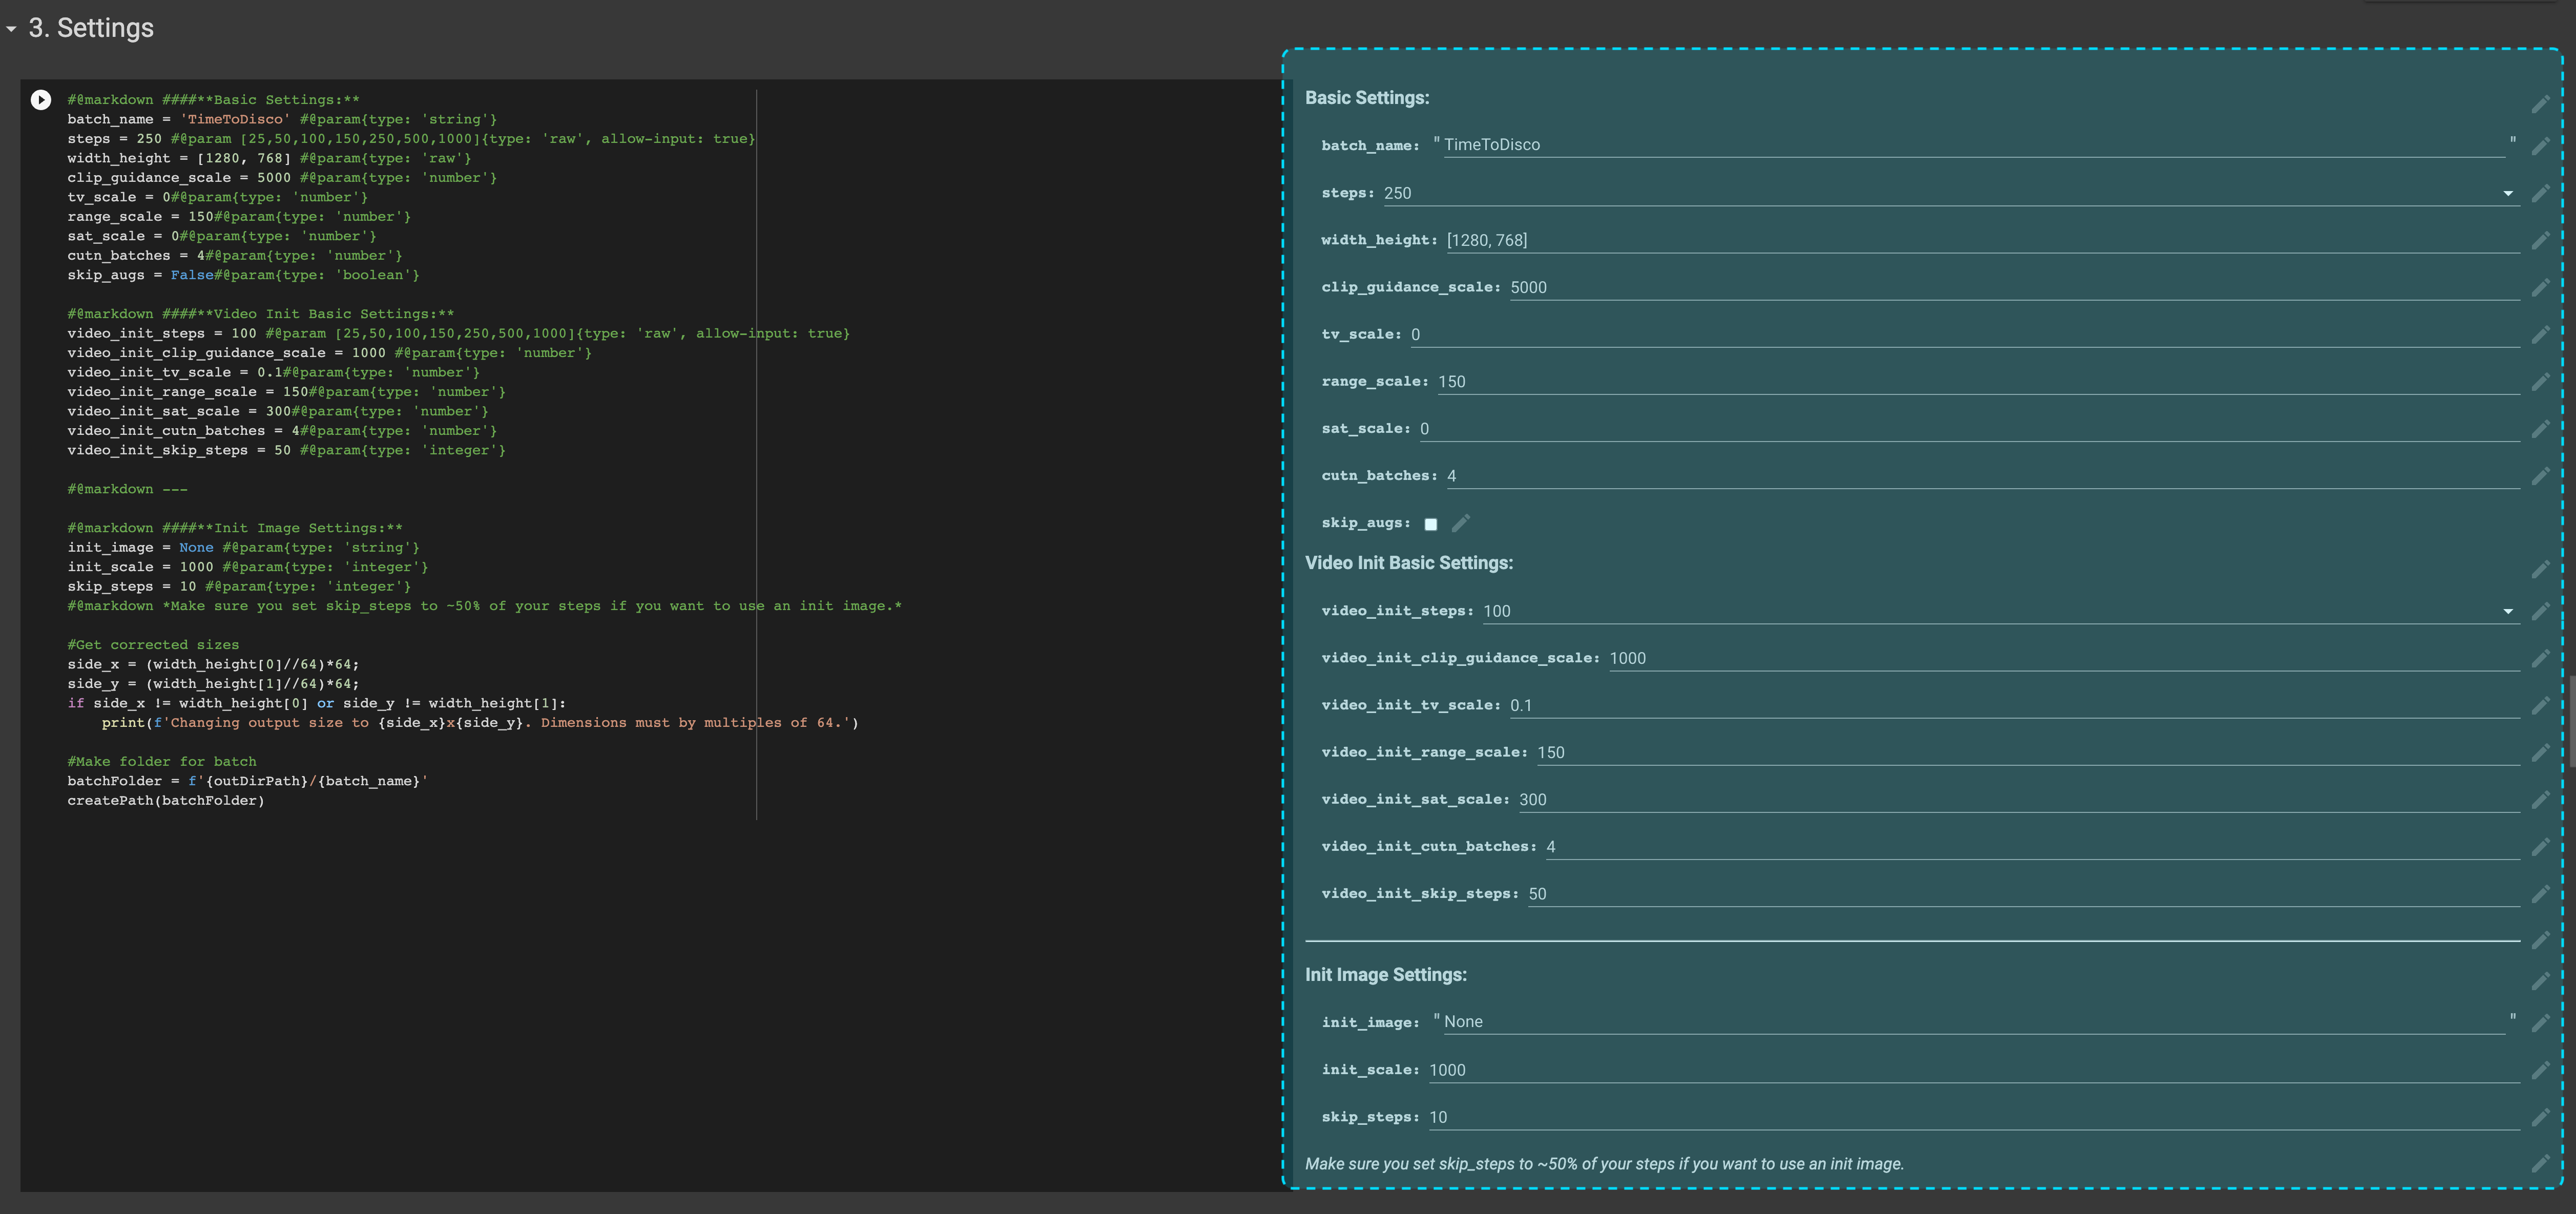
Here also click play without changing a thing. But it is interesting to explain a couple of parameters that are going to be key for the future:
In the 'Basic Settings' we find:
Batch_name: You write the name of the folder where you want your images to be saved (once generated) in Google Drive. If you leave the TimeToDisco that appears by default, that folder will be created inside AI>Disco_Diffusion>images_out>TimeToDisco.

Steps: They are the number of partial images that will be used to make the final composition.

If you add more steps it means that the final image will be more detailed, but it will also take more time to generate.
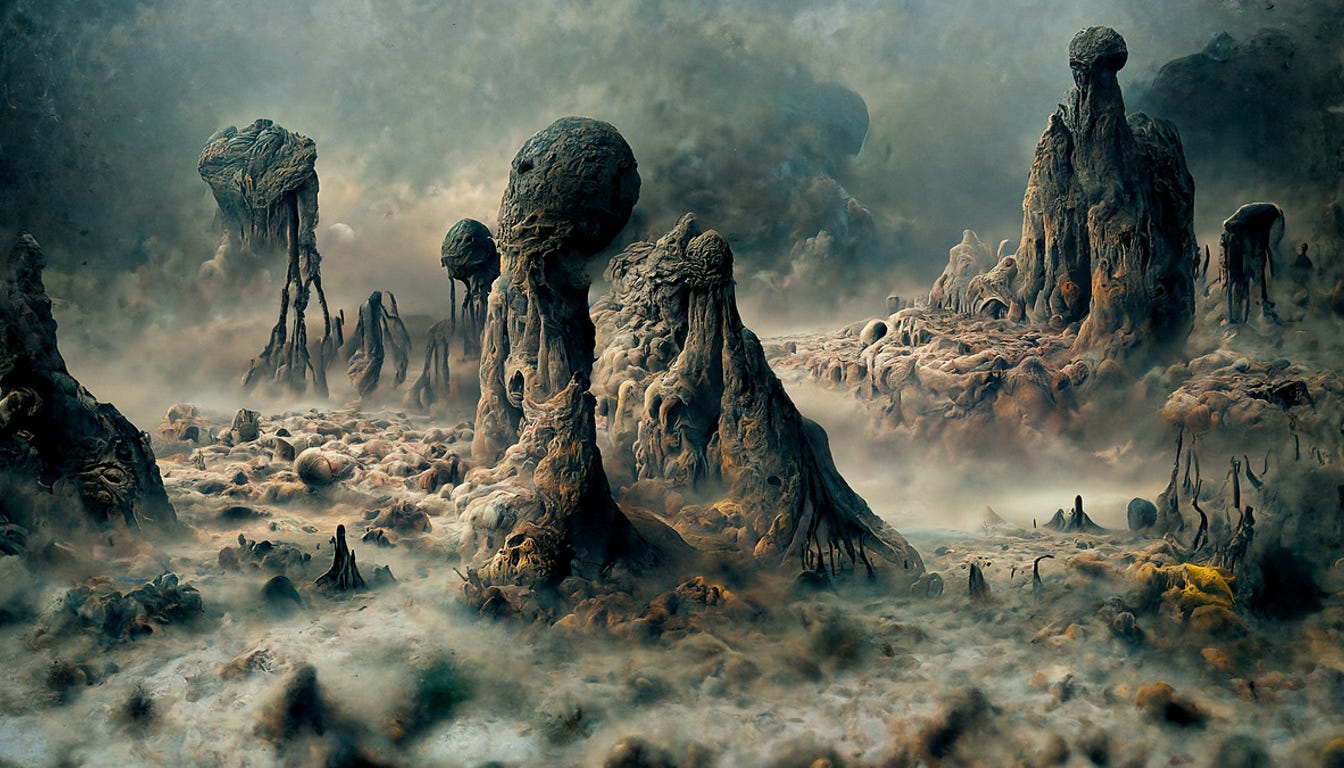
For example:

An example of an image with 900 steps:
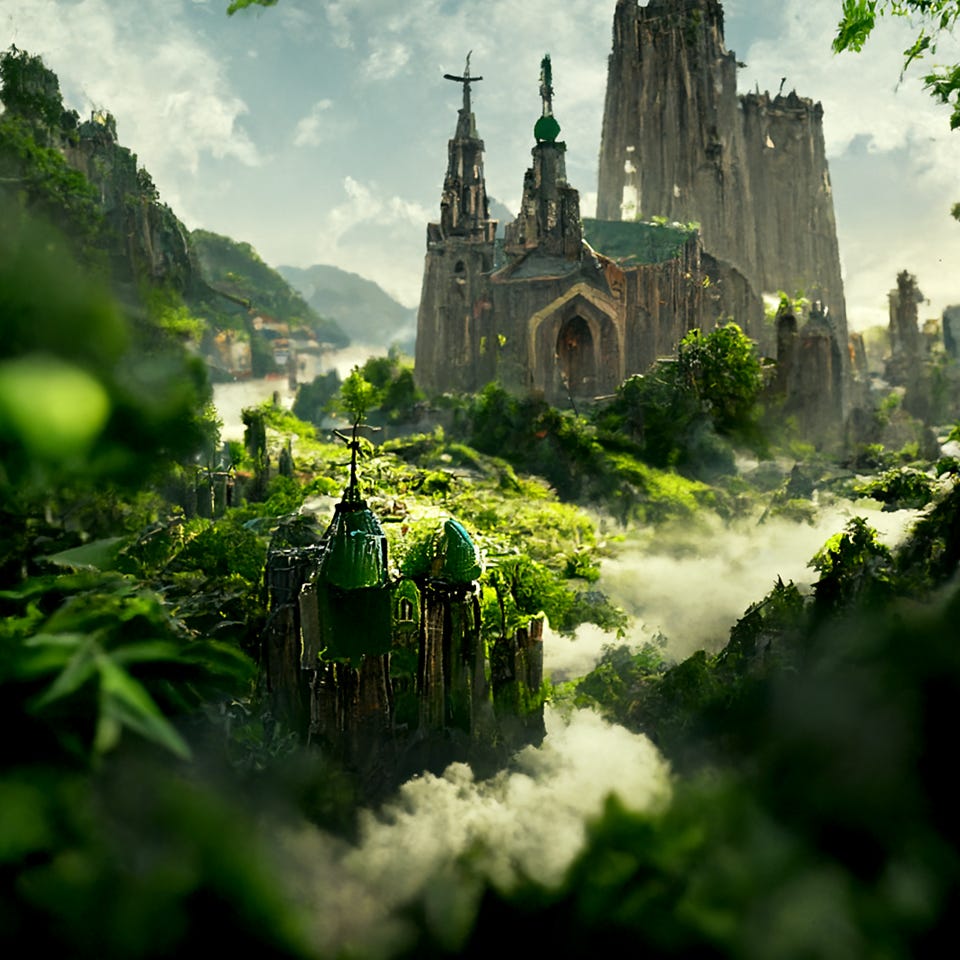
With practice and depending on the style you want to have, you will find the optimal number of steps for you. For now, we better leave it as it is by default (250 steps).
Width_height: The dimensions of the image. You can make them rectangular, square… It is very easy to change and they must be multiples of 64, but if you make a mistake, the tool corrects it for you. Don't worry. For now, let's leave the default size.

We also do not touch any of the following values, which we will also analyze soon. We click play, wait for it to turn green and go to 'Animations Settings' and 'Extra settings'.
In neither case do we have to touch anything. Simply, we put the mouse on it, the play button will appear, and we click it.

If we want to make sure that it is active, we display the interior and see the green check icon.
And then we move on to the most important part. The prompts.
Prompts: The instructions that we whisper to the AI to start drawing. The prompts are infinte and constitute the basis of the quality of the final creation. We'll cover this in a lot more detail in the near future, but for now, let's keep it simple.
First, in quotes, say in general lines what you want to create. Continue with some of the artists that you love the most (contemporary or classic) to help you model your work, ending with 'Trending in artstation' (I strongly recommend opening an account in Artstation and follow the ones you like the most) and we finish choosing a color palette.
You can leave the one with the lighthouse you will find by default. It is spectacular. But if you want to try something different, I suggest, for example:
"A beautiful painting of a futuristic port, full of ships floating on a calm sea, surrounded by mountains, by Harry Dafereras and Petar Milivojevic, Trending on artstation.","purple and blue color scheme"5 (last one) - Diffuse:
Here we do not touch anything either and we click play to start everything we have configured above.

And voila! Let's let the algorithm act. From point 5 (‘Create the video‘) you do not have to touch anything since we are not making a video.
If after a minute (more or less) a blurry image like this appears, everything is fine.

We wait and we will see in real time how our image is transforming. Until the final result:

If you let the tool act, it will launch more images with other combinations.

And that's it! Try it yourself, change the number of steps, the dimensions, the prompts... and you will be surprised.
I leave you some examples of works by amazing artists with great mastery of the tool:
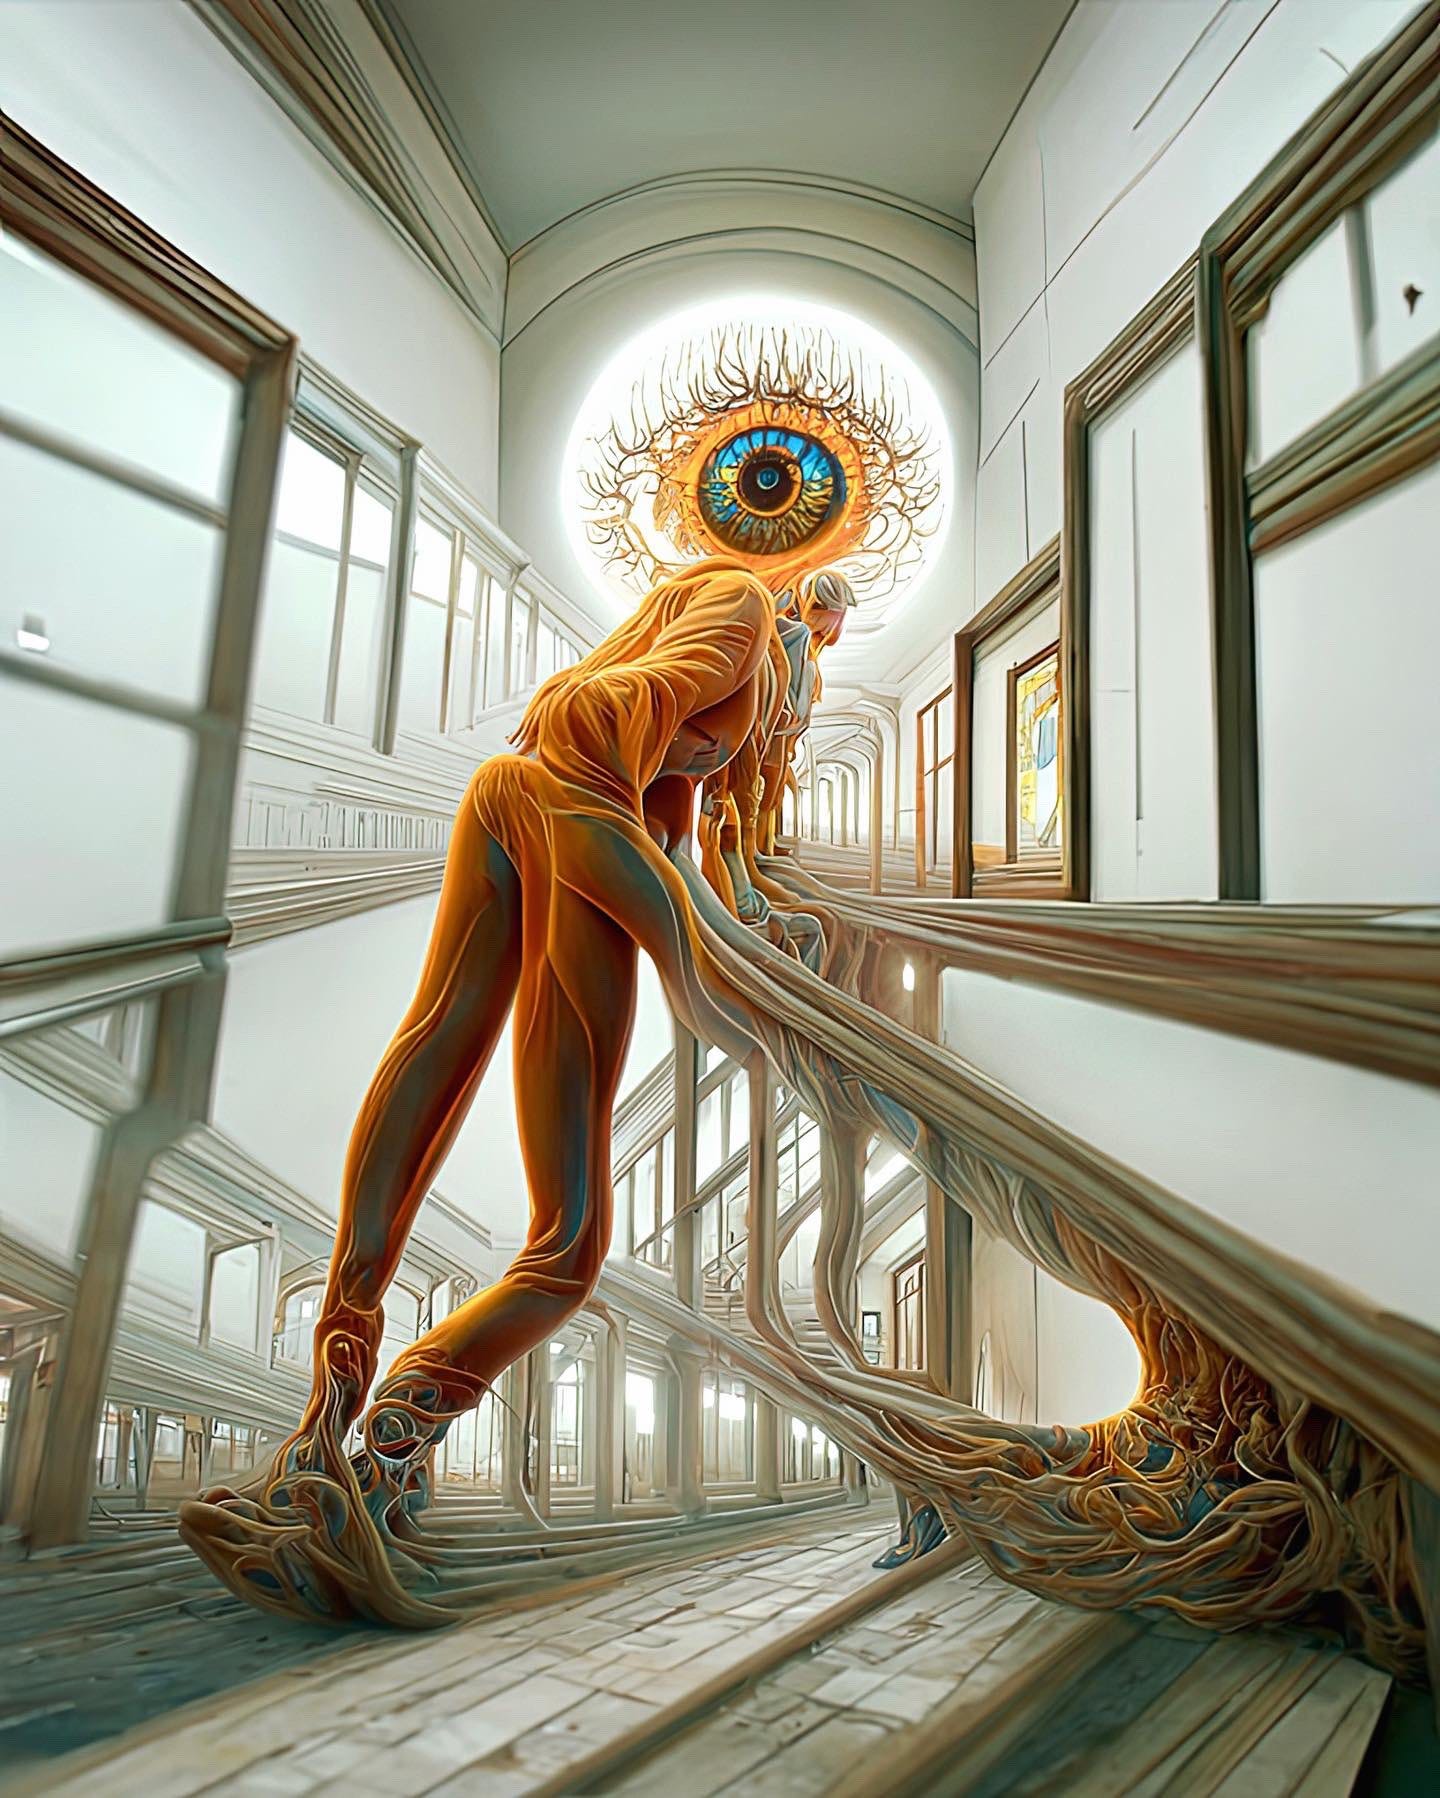

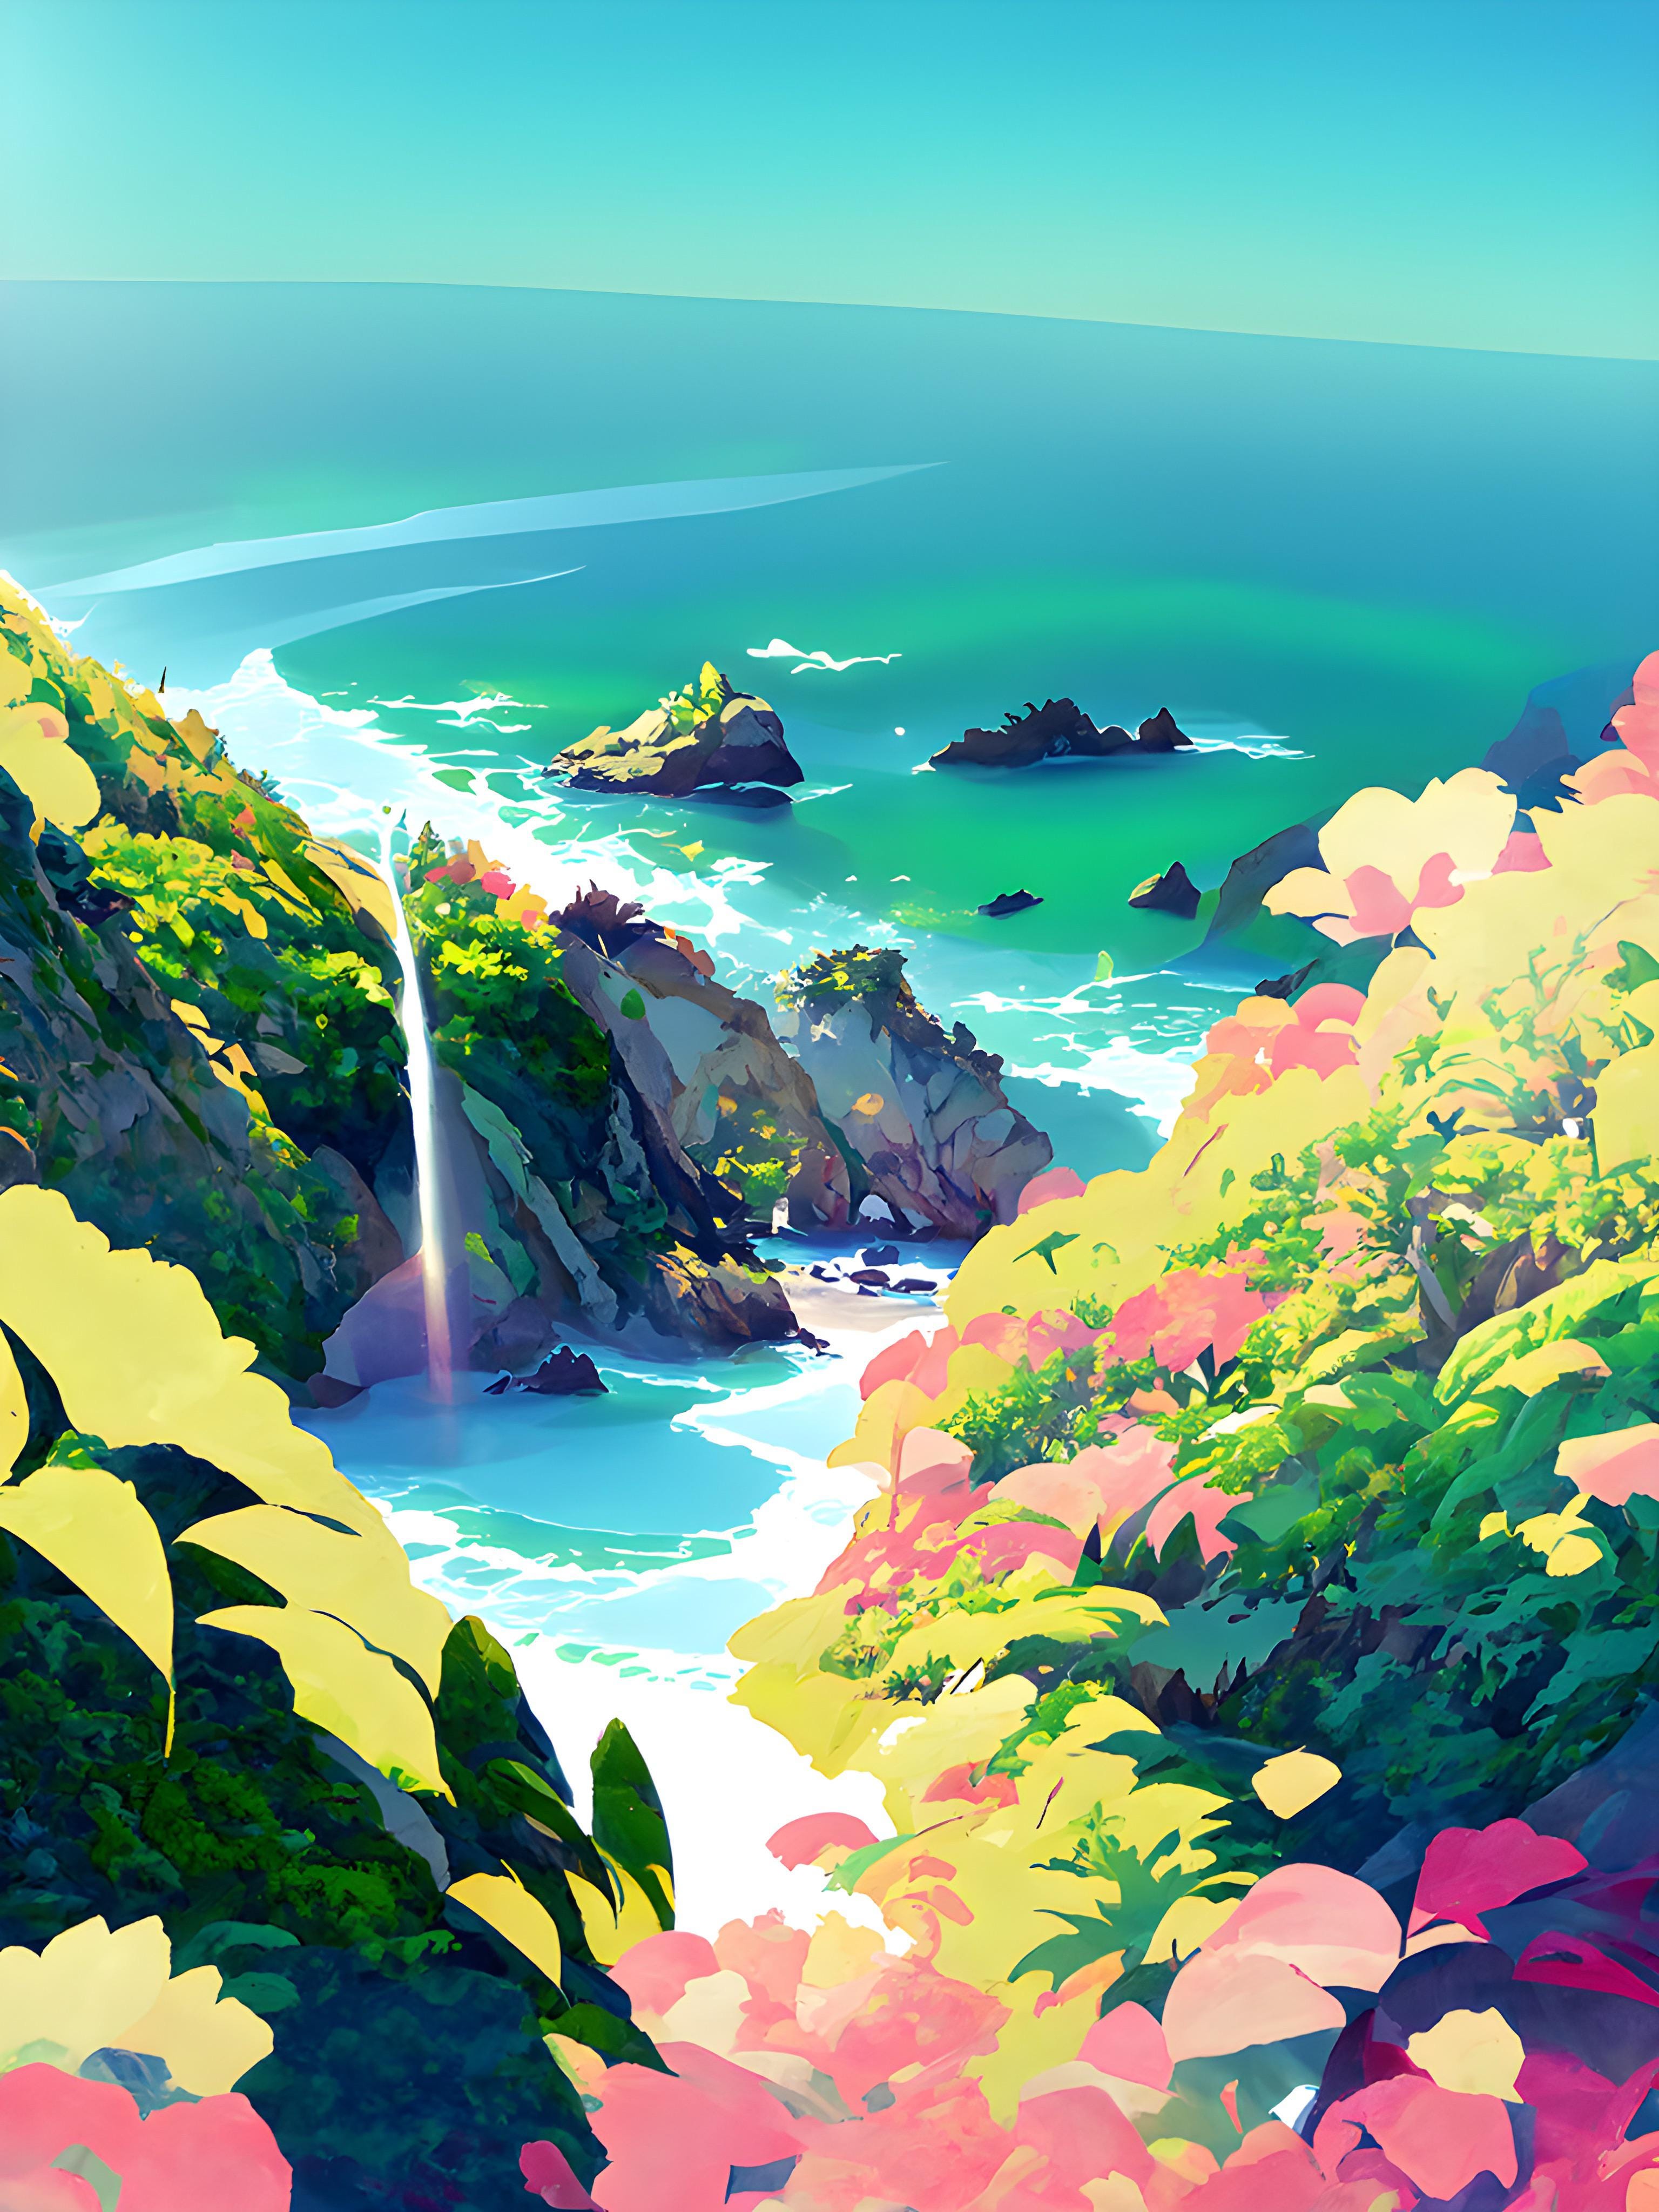
Subscribe and you will get to do magic!